

If you want to season cast iron so it lasts decades without flaking, rust, or stickiness, you need precise temperatures and the right oil, not vague “coat and bake” advice. Most guides skip the science. They tell you to slather on oil and hope for the best. That approach fails. This guide gives you exact temperatures, repeatable timing, oil selection based on polymerization behavior, and fixes for every common failure mode. No fluff. Just what works.
Key Takeaways
- Seasoning is polymerization: oil heated past its smoke point forms hard, bonded layers that prevent rust and stickiness.
- Six or more thin coats baked at 500°F for 1 hour with a 2 hour oven cool down produces durable, non-flaking seasoning.
- Flaxseed oil polymerizes most readily due to its low smoke point, but application thinness and precise oven temperature matter far more than brand loyalty.
Table of Contents
- Why proper seasoning matters (and what “seasoning” actually is)
- The science-based seasoning method that prevents flaking
- Choosing the best oil for seasoning cast iron
- How to season a cast iron skillet for the first time — step-by-step
- Top 3 seasoning mistakes that cause flaking (and how to avoid them)
- How to restore rusty cast iron safely (chemical and mechanical approach)
- Everyday cast iron care instructions — cleaning, drying, storing
- Can you use soap on cast iron? Practical consensus and myths
- Troubleshooting: sticky seasoning vs rust — quick fixes
- One-page quick-reference checklist (temps, times, oils, don’ts)
Why proper seasoning matters (and what “seasoning” actually is)
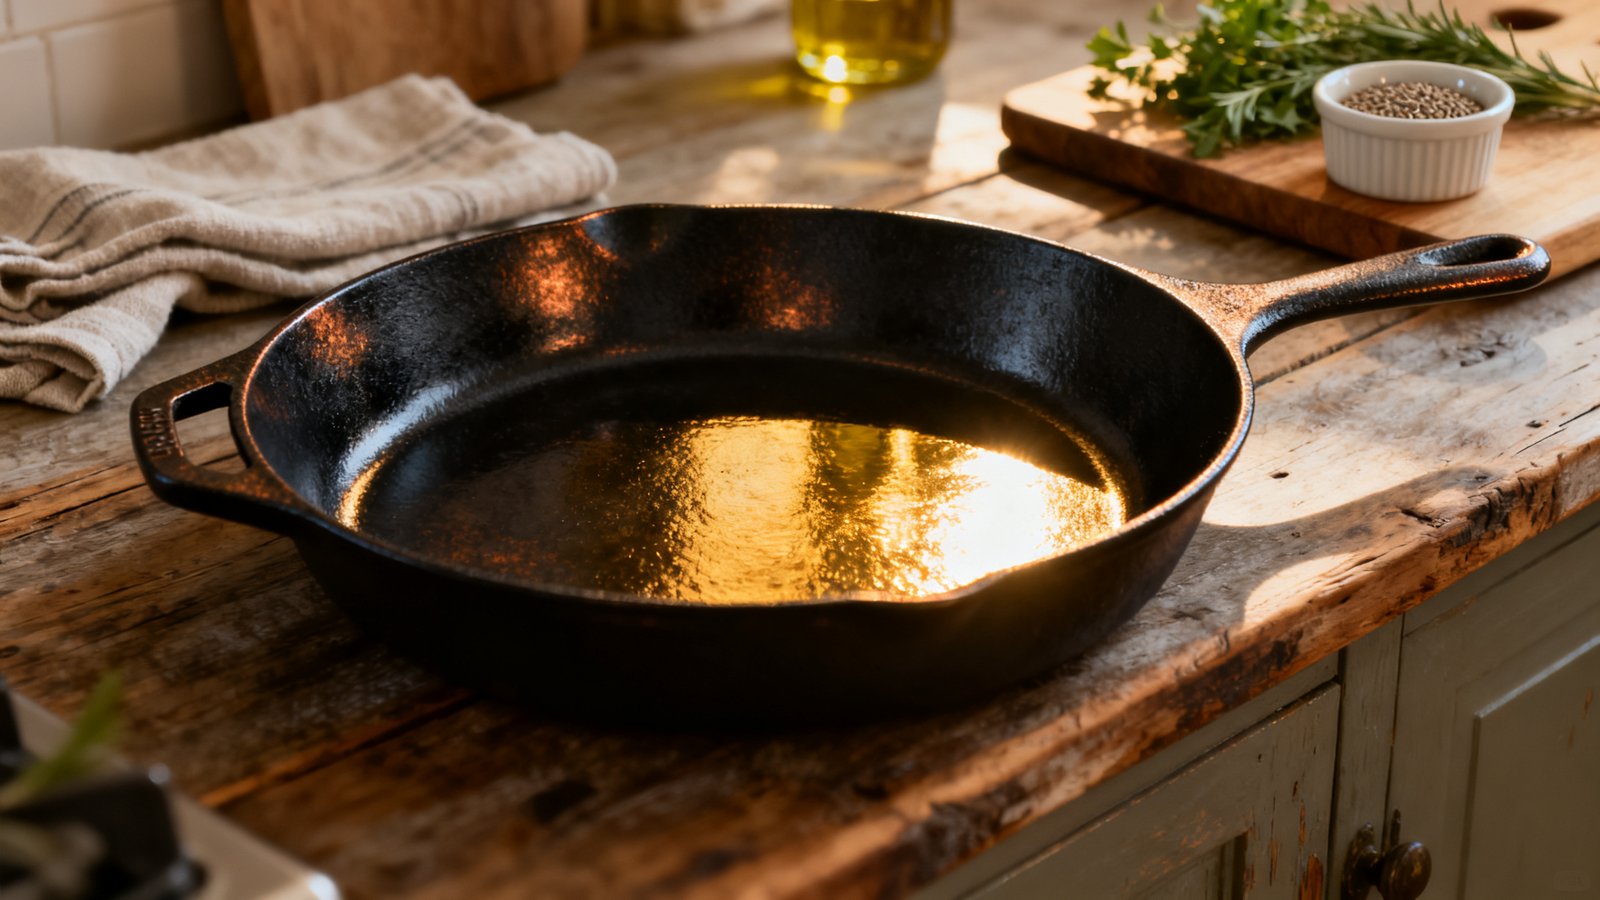
Seasoning is not a coating of oil sitting on your pan. It is a hard, plastic-like layer chemically bonded to the iron. When you heat oil past its smoke point, the triglycerides break down and form free fatty acids. These oxidize and crosslink into a polymer matrix that bonds tightly to the porous iron surface. This process is called polymerization.
The result is a dark, slick surface that keeps food from sticking and seals out moisture that causes rust. A well-seasoned pan can outperform any nonstick cookware for searing, frying, and baking. But when the layers are thick, uneven, or undercooked, they fail. Flakes end up in your food. Rust spots appear. The pan becomes sticky to the touch. These failures are almost always user error, not a defect in the iron.
Flaxseed oil is frequently cited as ideal for seasoning because it has the lowest smoke point of any common cooking oil and polymerizes readily into a hard, durable finish. But oil choice alone will not save you if your application technique is wrong. Temperature control and layer thinness are what separate a glass-smooth patina from a sticky, peeling mess. Knowing how to season cast iron correctly means understanding why each variable matters, not just following a recipe.
For a broader comparison of cookware materials and when cast iron outperforms alternatives, see our detailed guide on cast iron vs non stick.
The science-based seasoning method that prevents flaking
The most repeatable, lab-tested protocol for cast iron seasoning comes from meticulous experimentation documented by Sheryl Canter. Her method eliminates the variables that cause sticky or flaking results. Here it is in full, with no shortcuts.
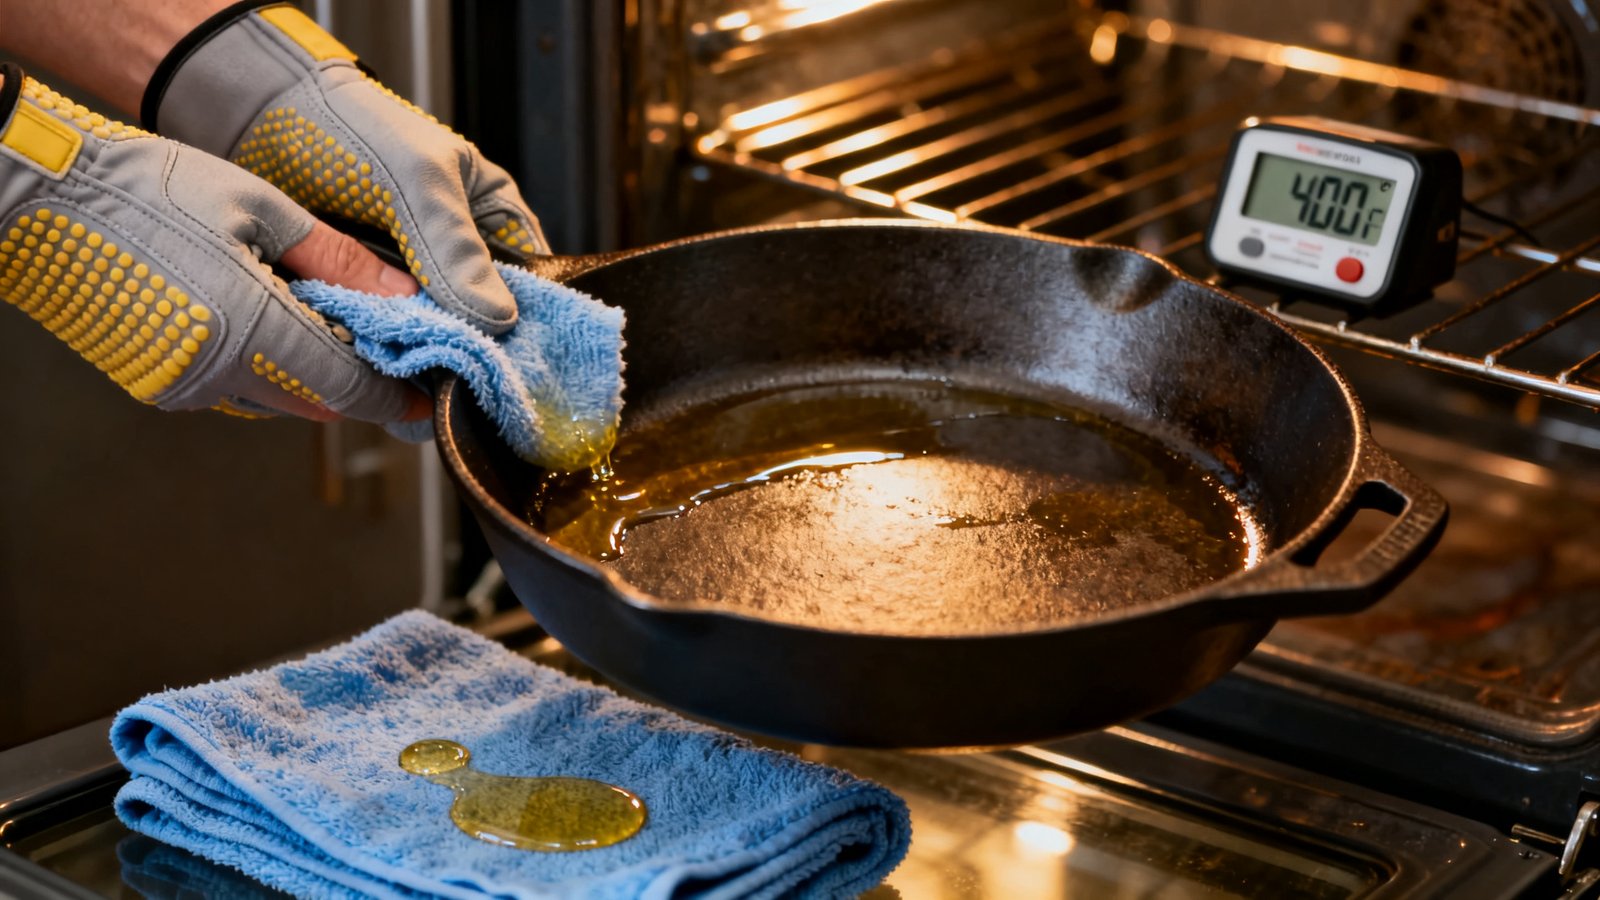
The core protocol is straightforward: apply an extremely thin coat of oil, bake at 500°F for 1 hour, turn off the oven, and let the pan cool inside for 2 hours without opening the door. Repeat this for at least 6 coats. The high temperature ensures the oil fully exceeds its smoke point and completes polymerization. The slow, uninterrupted cooling prevents thermal shock and allows the polymer layers to set hard. Rushing the cooling by removing the pan early traps partially polymerized oil at the surface, which becomes sticky.
This method works because it accounts for the three variables most people ignore: heat saturation time, controlled cooling rate, and layer thinness. A common shortcut is applying thicker coats to speed up the process. That backfires. Thick oil cannot fully polymerize before the surface hardens, leaving a soft, sticky underlayer that eventually flakes.
The full protocol demands patience. Six coats means six hours of baking plus twelve hours of cooling, spread across multiple days. That sounds excessive until you consider that properly seasoned cast iron lasts a lifetime. If you are investing in quality cookware, the upfront time commitment pays off. For cooks who want reliable nonstick performance without ongoing maintenance, our best non stick pans 2026 roundup covers modern ceramic and PFOA-free alternatives. But for high-heat searing, nothing replaces well-seasoned iron.
Detailed documentation of this method is available at Sheryl Canter’s science-based seasoning guide, which remains one of the most thorough resources on the topic.
Choosing the best oil for seasoning cast iron
Oil selection matters because polymerization rate and hardness correlate with the oil’s fatty acid profile and smoke point. Oils high in polyunsaturated fats, specifically omega-3 alpha-linolenic acid, crosslink most readily. This is why unrefined flaxseed oil is frequently recommended for initial seasoning layers. Its low smoke point, around 225°F, means it begins polymerizing at lower temperatures and forms a harder finish than oils that require more heat to break down.
High smoke point oils like avocado oil, which smokes around 520°F, are not ideal for initial seasoning at standard oven temperatures of 450°F to 500°F. If your oven cannot reliably exceed the oil’s smoke point, full polymerization will not occur. The oil remains partially unreacted, which produces a gummy or sticky surface. Save avocado oil for high-heat cooking on an already seasoned pan, not for building the base layers.
| Oil Type | Approximate Smoke Point | Polymerization Suitability | Best Use for Cast Iron |
|---|---|---|---|
| Unrefined flaxseed oil | ~225°F | Excellent, hard finish | Initial seasoning layers (6+ coats) |
| Grapeseed oil | ~420°F | Very good | Initial seasoning and maintenance |
| Canola oil | ~400°F | Good, widely available | Maintenance and touch-up coats |
| Vegetable shortening (Crisco) | ~360°F | Good, even application | Alternative initial seasoning |
| Avocado oil | ~520°F | Poor for initial seasoning | Cooking on seasoned pan only |
A critical warning: some flaxseed oil products contain anti-rancidity additives that interfere with polymerization. These additives cause flaking. Buy only 100% pure, unrefined flaxseed oil, typically sold in refrigerated sections of health food stores. If the label lists anything beyond cold-pressed flaxseed oil, skip it. The best oil for seasoning cast iron is one that is pure, has a low smoke point, and contains polyunsaturated fats that crosslink aggressively.
How to season a cast iron skillet for the first time — step-by-step
New cast iron often comes with a factory preseasoning, but it is usually thin and inconsistent. Building your own base ensures durability. Whether the pan is raw iron or preseasoned, follow this checklist exactly.
Step 1: Clean and prepare the surface. Wash the pan with hot water and mild soap. Dry it completely with a towel, then place it on a burner over low heat for 3 to 5 minutes to evaporate every trace of moisture. The pan must be bone dry before oil touches it.
Step 2: Apply the first coat. Pour a few drops of flaxseed oil onto the cooking surface. Use a lint-free cloth or paper towel to spread it across the entire pan, inside and out, including the handle. Now take a clean, dry cloth and wipe the pan as if you are trying to remove every bit of oil. The film left behind is your seasoning coat.
Step 3: Bake. Place the pan upside down on the middle oven rack. Set a sheet of aluminum foil on the lower rack to catch any drips. Set the oven to 500°F. Once the oven reaches temperature, bake for exactly 1 hour.
Step 4: Cool without interruption. Turn off the oven. Do not open the door. Let the pan cool inside for 2 hours. Removing it early causes thermal shock and incomplete polymerization.
Step 5: Repeat. Apply the next coat and repeat the bake and cool cycle. Do this at least six times. The pan will gradually darken from bronze to deep black. After the final coat, the surface should feel smooth and dry, not tacky.
Between coats, inspect the pan under bright light. If you see any shiny spots or pooling marks, you applied too much oil on that coat. Note the pattern and adjust your wiping technique on the next round. Building flawless cast iron seasoning is a skill refined through repetition.
Once your pan is fully seasoned, store it in a dry location. If cabinet space is limited, consider organizing with dedicated solutions. Our guide on best pantry storage containers covers airtight systems that also work well for protecting cookware in humid environments.
Top 3 seasoning mistakes that cause flaking (and how to avoid them)
When seasoning fails, the cause is almost always one of three things. Fix these and your results will improve dramatically.
Mistake 1: Oil applied too thick. This is the most common error. People assume more oil equals more protection. In reality, thick oil cannot fully polymerize from surface to substrate. The top hardens while the bottom stays soft. The result is a weak bond that flakes under use. The fix is counterintuitive but simple: wipe the pan until it looks dry. The correct amount is microscopic.
Mistake 2: Oven temperature too low. If your oven runs cool, the oil never fully exceeds its smoke point. Partial polymerization creates sticky, gummy patches that never harden. Verify your oven temperature with an independent oven thermometer. Do not trust the dial. If your oven maxes out at 450°F and cannot hold a steady temperature, choose an oil with a lower smoke point, like flaxseed, rather than trying to force a high-smoke-point oil to polymerize.
Mistake 3: Baking time too short. Pulling the pan after 30 or 45 minutes leaves unreacted oil in the matrix. The hour-long bake is not a suggestion. It is the minimum time needed for full thermal penetration and complete polymerization of each thin layer. Extending to 75 minutes does no harm if your oven temperature is accurate. Shortening the time guarantees failure.
An additional culprit worth mentioning: flaxseed oil with anti-rancidity additives. These chemical stabilizers prevent the exact oxidation reactions you need for polymerization. If you followed every step correctly and your seasoning still flakes, check your oil label. Pure unrefined flaxseed oil should have no additives listed.
How to restore rusty cast iron safely (chemical and mechanical approach)
Rust happens when bare iron meets moisture and oxygen. It is not permanent damage. Cast iron is solid metal. Surface rust can be removed completely without harming the pan if you use the right method.
The safest chemical approach uses a 50/50 solution of distilled white vinegar and water. Submerge the rusty pan, or if the pan is too large, fill it with the solution and place it in a larger container. Soak for 30 to 60 minutes, checking every 15 minutes with a stiff brush or steel wool. The vinegar dissolves iron oxide selectively, but given enough time, it will attack the base iron. Do not leave the pan soaking overnight. Once the rust scrubs away easily, remove the pan immediately, rinse thoroughly with cold water, and dry completely.
For heavy rust, mechanical removal with a wire brush, steel wool, or sandpaper works. Start coarse and move to fine grit. The goal is to expose clean, silver-gray iron. Once the rust is gone, you must re-season immediately. Bare iron begins oxidizing within minutes in humid air. Apply the first coat of oil right after drying the pan, then begin the full 6-coat seasoning protocol.
Electrolysis is the nuclear option for severely rusted or crud-encrusted vintage pans. It requires a battery charger, sacrificial steel, and a washing soda electrolyte bath. It is effective but beyond what most home cooks need. The vinegar soak handles the vast majority of cases. For detailed rust removal instructions, visit Southern Cast Iron’s rust restoration guide.
If your pan is beyond restoration or you want a lower-maintenance option for daily eggs and delicate foods, our comparison of cast iron vs non stick pans helps you decide which tool fits each cooking task.
Everyday cast iron care instructions — cleaning, drying, storing
Daily care for seasoned cast iron is simple but specific. After cooking, let the pan cool until it is warm but safe to handle. Rinse with hot water and scrub with a stiff nylon brush or chainmail scrubber to remove food residue. For stubborn bits, simmer a small amount of water in the pan for 2 to 3 minutes to loosen debris, then scrub again.
Dry the pan immediately and thoroughly. Towel-dry, then place it on a burner over low heat for 3 to 5 minutes to drive off any remaining moisture. While the pan is still warm, apply a micro-thin layer of oil, wipe it nearly dry, and let it cool completely before storing. This maintenance coat protects the seasoning and prevents rust between uses.
Store cast iron in a dry place with the lid off or ajar. Trapped moisture is the enemy. If stacking pans, place a paper towel or cloth between them to prevent scratches and absorb any residual moisture. For kitchens with limited storage, organize pantry steps can free up cabinet space for cookware.
Re-season when the surface looks dull, feels rough, or shows signs of rust. For heavily used pans, a full 6-coat re-seasoning every year or two keeps performance optimal. Touch-up coats can be applied in a single bake cycle whenever needed.
Can you use soap on cast iron? Practical consensus and myths
The rule “never use soap on cast iron” comes from a time when soaps contained lye, which strips seasoning aggressively. Modern dish soaps are mild and pH-neutral. Used occasionally and sparingly, they will not harm a well-seasoned pan. The Field Company, a respected cast iron manufacturer, explicitly recommends warm, soapy water for cleaning rust and residue. Other authorities maintain a no-soap stance.
The practical truth is nuanced. Mild dish soap on a properly seasoned pan once in a while is fine. Do not soak the pan in soapy water. Do not use harsh detergents, dishwasher pods, or abrasive cleaners. After any soap use, rinse thoroughly, dry completely, and apply a light maintenance coat of oil. The real risk is not the soap itself but the prolonged exposure to water that often accompanies soap use.
If your seasoning is thin or damaged, skip the soap entirely. Hot water and a stiff brush handle most cleaning tasks without any detergent. For cooks accustomed to sanitizing every surface, this can feel counterintuitive, but the heat of cooking and the oven sterilization from occasional re-seasoning keep the pan hygienic. For more on daily care routines, see Field Company’s visual care guide and The Turquoise Table’s cast iron care overview.
Troubleshooting: sticky seasoning vs rust — quick fixes
Sticky seasoning and rust are the two most common complaints, but they require opposite fixes. Diagnosing correctly is essential.
Sticky or gummy surface: The pan feels tacky to the touch. Food drags rather than sliding. This indicates under-polymerized oil trapped beneath a hardened surface. The fix is to strip the sticky layer and re-season with thinner coats at a higher temperature. Scrub the pan with steel wool and hot water to remove the compromised layer, dry completely, and begin the 6-coat protocol. Watch your oil thickness and verify your oven temperature with a standalone thermometer.
Rust spots or orange discoloration: Rust is dry and powdery, not sticky. It appears where seasoning has worn thin or been scratched. For small spots, scrub with steel wool until bare iron shows, rinse, dry, and apply a single seasoning coat. For widespread rust, use the 50/50 vinegar soak for 30 to 60 minutes, scrub, dry immediately, and re-season from scratch. The key to preventing rust recurrence is immediate oil application after any water exposure.
Neither problem means the pan is ruined. Cast iron is remarkably forgiving. Even a pan left in a damp garage for years can be restored to cooking condition with the vinegar soak and re-seasoning method described above.
One-page quick-reference checklist (temps, times, oils, don’ts)
Print or screenshot this section. Tape it inside a cabinet door. These are the numbers that matter.
- Oven temperature: 500°F (or highest setting, minimum 450°F)
- Bake time per coat: 1 hour
- Cooling time: 2 hours inside oven, door closed
- Number of coats: Minimum 6 for a durable base
- Best oil for initial seasoning: 100% pure unrefined flaxseed oil
- Oil amount per coat: Wipe on, then wipe off until pan looks dry
- Rust removal soak: 50/50 distilled white vinegar and water, 30 to 60 minutes max
- Daily cleaning: Hot water, stiff brush, dry on burner, light oil wipe
- Soap use: Mild soap occasionally if seasoning is intact; never soak
- Storage: Dry location, lid off or ajar, paper towel between stacked pans
- Re-season trigger: Dull, rough, or rusty surface
Conclusion
Durable cast iron seasoning is not a mystery. It is a chemical reaction that requires precise inputs: the right oil, applied microscopically thin, baked hot enough and long enough to fully polymerize, then cooled slowly and repeated until the matrix builds into a hard, glassy shield. The method works every time if you follow the numbers. Six coats at 500°F for 1 hour with a 2 hour oven cool down. Flaxseed oil, wiped nearly dry. No shortcuts.
When problems arise, sticky or flaking seasoning almost always traces back to oil thickness, oven temperature, or bake time. Rust comes from moisture left on bare iron. Both are fixable. Neither is permanent. Learning to season cast iron properly is a skill that pays dividends for decades. Treat your pan with the precision it deserves, and it will outlast you.
Ready to start? Pull your pan out of the cabinet, grab a bottle of pure flaxseed oil, and run the first coat tonight. Six cycles from now, you will have cookware that sears steaks, releases eggs, and handles acidic sauces without complaint. If you are still building out your kitchen toolkit, check our guide to the best knife sets under 150 to round out your essentials.
Frequently Asked Questions
How many coats of seasoning does cast iron actually need?
A minimum of 6 thin coats produces a reliable, durable base layer. Fewer coats leave the seasoning too thin to resist wear and acid from cooking. The pan may look good after 3 coats but will degrade quickly under regular use. Six coats, applied with proper temperature and cooling intervals, builds a hard polymer matrix that lasts.
Can I season cast iron at 450°F instead of 500°F?
Yes, if 450°F is your oven’s maximum temperature. The critical factor is exceeding the oil’s smoke point. Flaxseed oil smokes around 225°F, so 450°F is more than sufficient for polymerization. Higher temperatures accelerate the reaction but are not mandatory. Verify your oven temperature with an independent thermometer because dial settings are often inaccurate by 25°F or more.
Why did my seasoning turn sticky after cooking acidic food?
Acidic foods like tomatoes, wine, and vinegar can partially dissolve thin or under-polymerized seasoning layers. The surface softens and becomes tacky. This usually indicates the seasoning was not fully hardened or was applied too thick. After cooking acidic dishes, clean the pan promptly, dry thoroughly, and apply a light maintenance oil coat. If stickiness persists, strip and re-season with thinner, hotter-baked coats.
Is flaxseed oil really the best, or are there better alternatives?
Flaxseed oil is the best for initial base layers because its high omega-3 content and low smoke point produce extremely hard polymerization. However, some users report flaking with flaxseed after extended use, possibly due to the hardness making it brittle. Grapeseed oil and vegetable shortening are excellent alternatives that produce slightly more flexible seasoning. All three work when applied correctly. The technique matters more than the specific oil.
Can I re-season a pan without stripping the old seasoning first?
Yes, if the existing seasoning is intact and you just want to add layers. Clean the pan thoroughly, dry it, and apply new thin coats using the standard bake and cool protocol. New polymer bonds to the existing matrix. If the old seasoning is flaking, sticky, or rusted underneath, you must strip it first. Scrubbing with steel wool or a brief vinegar soak removes compromised layers so new seasoning adheres to clean iron.